Alchemy Factory Tips & Tricks: Proven 1.0 Strategies
Top Alchemy Factory tips and tricks: what to build first, how to route wagon rails before conveyors, and high-payoff early decisions in v1.0.
Quick Answer: Core Decisions That Dictate Alchemical Success
Every high-throughput alchemical complex in Alchemy Factory 1.0 builds upon foundational architectural decisions made during early construction:
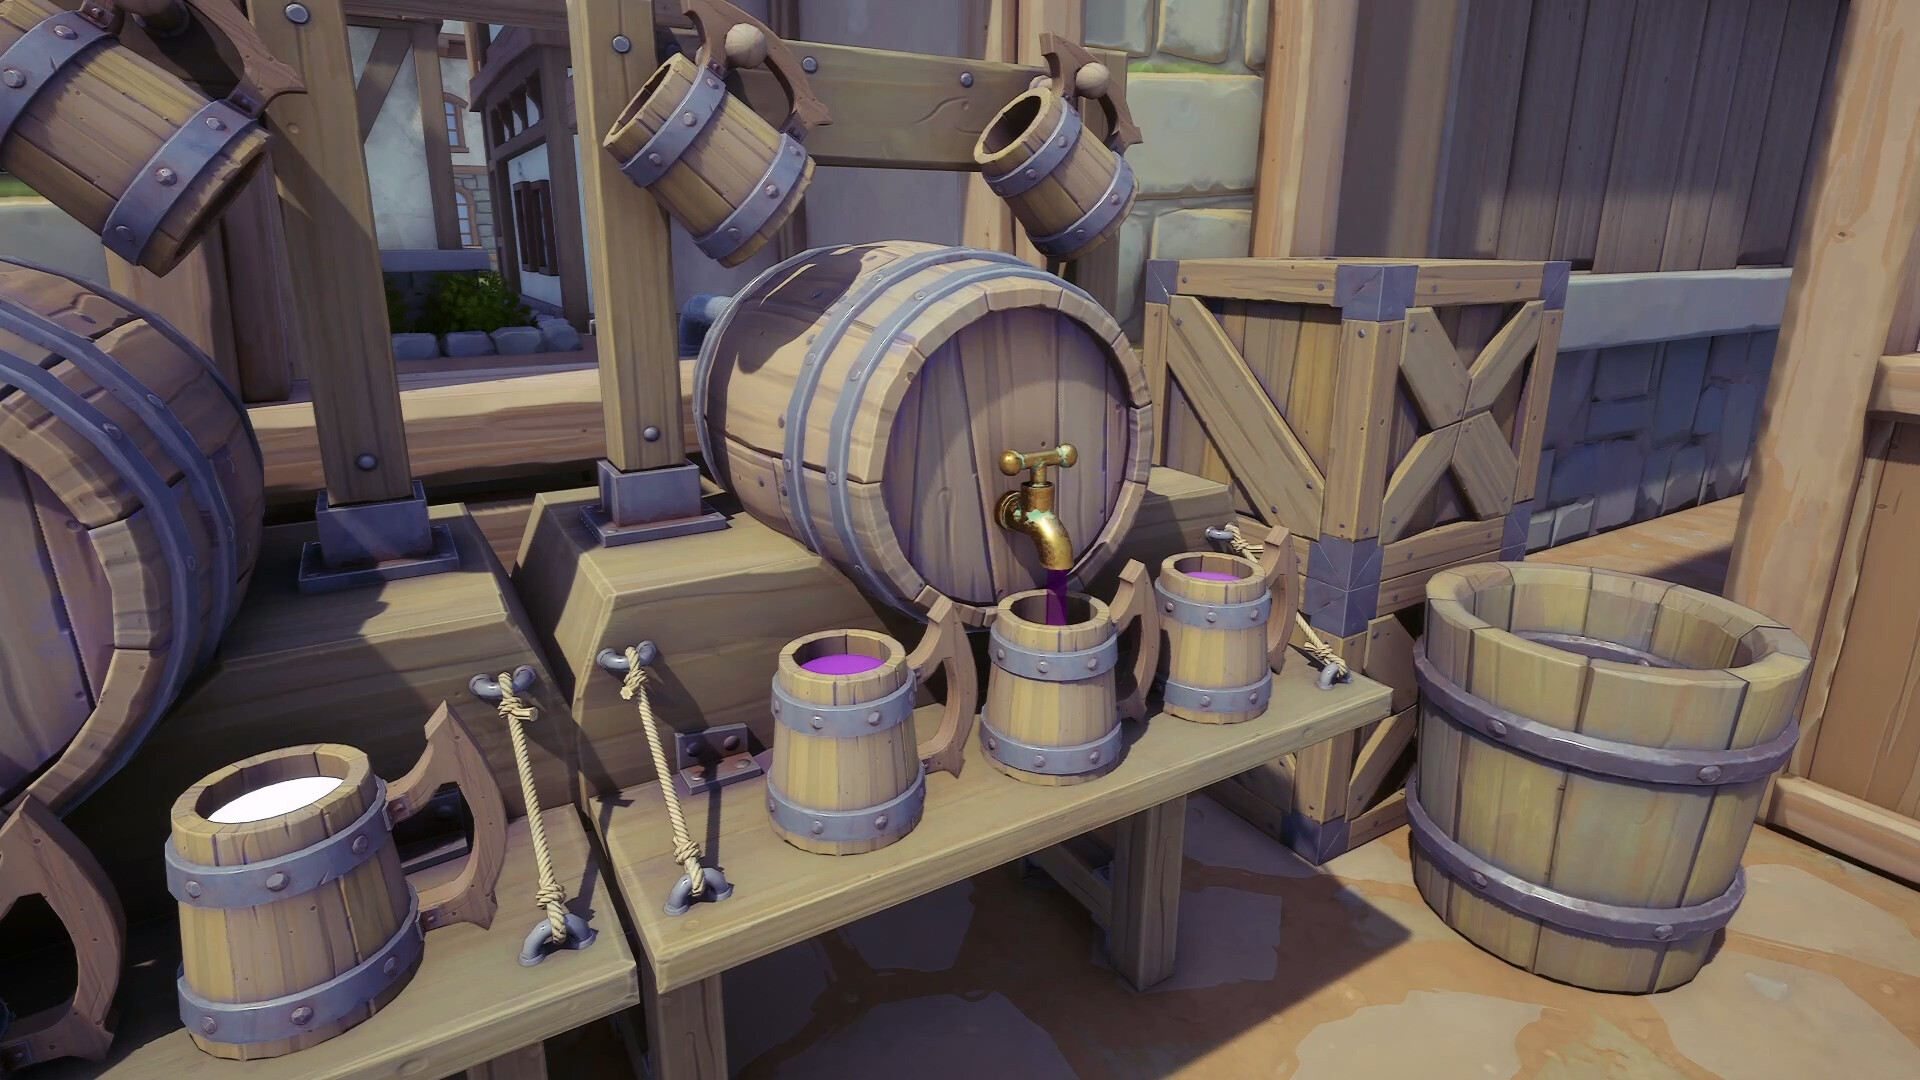
- Beverage & Cauldron Opening: Construct one dedicated Brew Barrel beverage line alongside one Cauldron transmutation loop before attempting complex multi-floor assemblies.
- Wagon Rail Before Conveyor Sprawl: Route your primary Wagon System rail spine across the terrain first; treat conveyor belts as localized machine feeders rather than long-distance transit.
- Physical Workbench Utilities: Craft splitters, mergers, belt bridges, and storage chests at the physical Workbench, keeping the Tech Tree reserved for machine unlocks.
- Vertical Hub Architecture: Build upward using central stairwells and vertical lift conveyors rather than sprawling across miles of countryside.
Tested Opening Build Order: The First-Hour Roadmap
The sequence below represents the community-proven build order for establishing a profitable, scalable base on a fresh 1.0 map:
| Sequence | Priority Milestone | Strategic Rationale | Operational Goal |
|---|---|---|---|
| Step 1 | Brew Barrel Beverage Line | High retail margin, zero catalyst required | Generates immediate passive gold at counter chillers |
| Step 2 | Starter Cauldron Loop | Collapses complex multi-step potion recipes | Transmutes basic herbs into high-value intermediate reagents |
| Step 3 | Wagon Logistics Trunk | Superior batch carrying capacity vs belts | Transports finished crates between synthesis rooms and sales floors |
| Step 4 | Workbench Splitters & Crates | Decoupled from the Tech Tree in Version 1.0 | Organizes item sorting without spending alchemical research points |
| Step 5 | Transmuter Catalyst Chamber | Multi-branch production off single athanors | Branches high-value jewelry and relic outputs |
Skipping the wagon rail and attempting to run hundreds of conveyor belt tiles across biomes is the most common early mistake. Long conveyor webs create item latency and bog down simulation performance. Laying rail tracks first ensures that when production lines scale up, finished goods reach the storefront instantly.
Critical Factory Layout Traps to Avoid
These recurring design pitfalls frequently stall factory growth and require painful demolitions:
- Shared Cauldron Input Pipes: Cauldrons consume precise reagent quantities per cycle. Feeding a Cauldron from a fluid or solid line shared with another athanor starves reagent hoppers, resulting in empty or failed outputs. Always provide dedicated feeder lines.
- Sprawling Conveyor Webs: In massive factories, thousands of items actively moving on belts create substantial CPU physics calculations. Restrict conveyor belts to short internal runs within a single room.
- Outdated Early Access Blueprints: Legacy schematics often rely on outdated recipe formulas (such as old catalyst recipes or volcanic ash from obsidian). Verify that all blueprints align with official 1.0 recipe balances.
- Enclosed “Borg Cube” Architecture: Encasing entire factory wings in solid, windowless cubes makes troubleshooting backed-up belts nearly impossible. Build open, transparent modular platforms with clear line-of-sight across reagent channels.
Factory Bottleneck Diagnostic Matrix
| Observed Symptom | Root Cause in Manufacturing Line | Immediate Corrective Action | Long-Term Automation Upgrade |
|---|---|---|---|
| Cauldrons idling with full input belts | Downstream output belt or retail shelf is completely saturated | Install an overflow splitter routing excess potions to dispatch crates | Connect a dedicated wagon rail loop to bulk warehouse storage |
| Athanor catalyst chamber starving | Shared grinder belt mixing raw herbs with catalyst dust | Isolate catalyst grinding onto a dedicated feeder belt | Upgrade to a closed-loop transmuter array with filtered hoppers |
| Storefront shelves emptying mid-day | Single feeder belt daisy-chained across multiple display racks | Split main supply line into parallel branch belts per shelf row | Stage intermediate buffer chests directly behind each shop counter |
| Fluid pipes stalling or pulsing | Insufficient pump pressure or split manifold starvation | Install dedicated pressure pumps along trunk fluid lines | Isolate beverage water inputs from chemical athanor solvent feeds |
Vertical Factory Architecture & Central Logistics Spines
Horizontal sprawl in Alchemy Factory leads to endless sprinting across fields to restock construction supplies. Designing vertically around a central hub solves this friction:
- Central Staircase & Shroom Elevators: Position a wide vertical access shaft in the geographical center of your base. This allows you to traverse five stories in seconds.
- Dedicated Lift Conveyor Spines: Run a compact cluster of vertical lift conveyors up through the central core. Feed these lifts with essential construction materials: wooden planks, iron nails, gears, and stone bricks.
- Floor-Specific Departmentalization:
- Ground Floor: Agricultural nurseries, water intake pumps, and wholesale dispatch docks.
- Floor 2: Grinding mills, solvent extractors, and basic potion athanors.
- Floor 3: Transmutation Cauldron arrays and catalyst synthesis.
- Floor 4: Fermentation vats, Brew Barrels, and retail customer display halls.
- Top Floor: High-temperature smelting crucibles, coin minting presses, and vault storage.
Ballistic Routing vs Sprawling Belts
As alchemical complexes grow into multi-district industrial centers:
- Arcane Fountain Catapult Advantage: Rather than constructing serpentine conveyor belt bridges over roofs and hills, deploy Arcane Fountains. These apparatuses launch intermediate catalysts and packaged crates through the air directly into receiving receptacles.
- CPU Thread Conservation: Items in ballistic flight travel along mathematical parabolic curves without continuous collision checks, preserving smooth frame rates in endgame compounds.
- Obstacle Bypass: Fountains launch items over roads, wagon rails, and decorative gardens without requiring complex underground tunnels or elevated scaffolding.
Storefront Flow Discipline & Bugfix Safeguards
Maximizing retail profits requires maintaining clean pedestrian flow:
- Maintaining Flip Sign Clearance: Hotfix v1.0.4917 resolved customer pathfinding hangups on the shop entrance flip sign. Always maintain at least one clear grid tile surrounding your shop sign to ensure clean pedestrian entrance paths.
- Stair Landing Buffers: The same hotfix resolved customer pathfinding hangups at the foot of stairs. Keep display cases, counters, and decorative pillars at least two tiles away from stair landings.
- Dispersed Store Gates: Demolish single entrance doors and install multiple shop gates around the perimeter to eliminate queue congestion at checkout counters.
Related Guides
- Avoid early pipeline errors by reviewing the Beginner Pitfall Checklist.
- Build optimal ingredient loops with the Cauldron & Potion Compendium.
- Streamline long-distance resource transport using Rail Wagon Routing.
Blueprint FAQs
What should I build first in Alchemy Factory? +
Start with a single beverage keg line plus one cauldron loop, then add the wagon rail. That covers your first margin loop and your logistics backbone before you commit to splitters or the transmuter.
Wagon rail or conveyor, which first? +
Route the wagon rail before the conveyor. Wagon rail has greater transport capacity than conveyor belts and is the logistics backbone; the conveyor grid is the fluid and item automation layer that comes on top of it.
What is the Workbench used for? +
In 1.0, non-production utility devices moved to the physical Workbench. Unlock splitters, storage chests and structural walls there early, because the Tech Tree is now dedicated strictly to production machines.
What is the biggest early-game mistake? +
Feeding the cauldron input pipe from a shared athanor pipe instead of a dedicated one. The cauldron takes one reagent per cycle, so a shared pipe starves it and produces empty outputs.